Recovering from inguinal hernia can feel overwhelming, but it’s an important step to getting back to your daily life pain-free. One gentle way to help your body heal after surgery is through yoga. Yoga offers simple, low-impact movements that can strengthen your body, improve flexibility, and help you relax. But, before jumping into a yoga routine, it’s essential to understand what an inguinal hernia is and which yoga for inguinal hernia cure can support a smooth recovery.
Yoga poses after inguinal hernia surgery can help you to prevent injury while promoting muscle relaxation and reducing pain. Whether experienced or a beginner in yoga, this post will help you feel confident in basic movements, even if you haven’t practised in a while. Now, let’s explore how these gentle poses can speed your recovery!
Also Read: Pilates vs. Yoga: Which is More Effective for Weight Loss?
What is an Inguinal Hernia?
An inguinal hernia happens when a part of the intestine or fatty tissue pushes through a weak spot in the lower abdominal wall, often causing discomfort or pain, especially when you cough, bend over, or lift something heavy. These hernias appear in the groin area and can affect both men and women, though they are more common in men. The most effective treatment is inguinal hernia surgery, where the weak area is repaired, often with the help of a mesh to prevent future hernias.
What to Expect After Inguinal Hernia Surgery
Inguinal hernia surgery is typically a quick and routine procedure. Most people can return to normal activities within a few weeks, but your abdominal area will need time to heal. During this time, it’s crucial to avoid heavy lifting, intense core exercises, and anything that strains your abdomen.
Effect of Inguinal Hernia Yoga Poses
Also Read: Try Power Yoga to Lose Weight in 7 Days
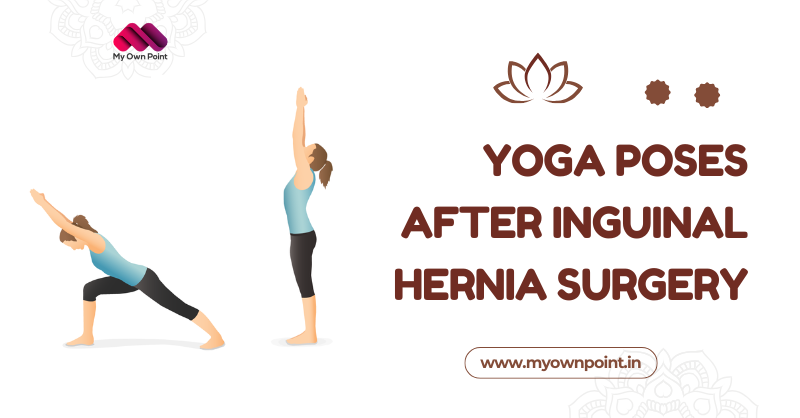
Best Yoga Poses After Inguinal Hernia Surgery Recovery
1- Tadasana (Mountain Pose)

- How it helps: Tadasana is a foundational yoga pose that improves posture and alignment. It allows you to stretch your spine and create space in your body without any strain on your abdomen. It helps with balance, which is crucial as your body regains strength post-surgery.
- How to do it:
- Stand with feet together or slightly apart.
- Engage thigh muscles and relax core.
- Lift chest, keep arms at sides.
- Lengthen the spine upwards.
- Breathe deeply, and hold the pose for 30 seconds to 1 minute.
2- Virabhadrasana I (Warrior I Pose)
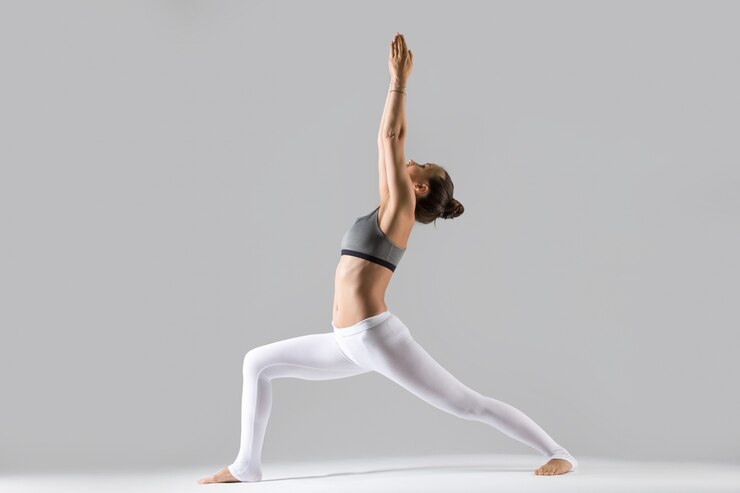
- How it helps: Warrior I pose is excellent for strengthening the legs, hips, and upper body. It gently opens up your chest and hips while avoiding excessive pressure on your abdomen. It’s also a great way to stretch your groin area, which may feel tight after surgery.
- How to do it:
- Step one foot forward into a lunge.
- Back leg extended, front knee bent.
- Hips should face forward.
- Raise arms overhead.
- Avoid overly engaging your core.
- Pause for a few deep breaths.
- Change sides after a brief pause.
3- Sukhasana (Easy Pose)

- How it helps: Sukhasana is a simple seated pose that encourages relaxation, mindfulness, and breathing. It’s gentle on the body and helps relieve tension in the hips and lower back, areas that may feel stiff after lying down for extended periods post-surgery.
- How to do it:
- Sit cross-legged on the floor with a straight spine.
- Rest your hands on your knees and close your eyes.
- Focus on slow, deep breathing.
- This pose helps calm the mind and body during recovery.
4-Setu Bandhasana (Bridge Pose)
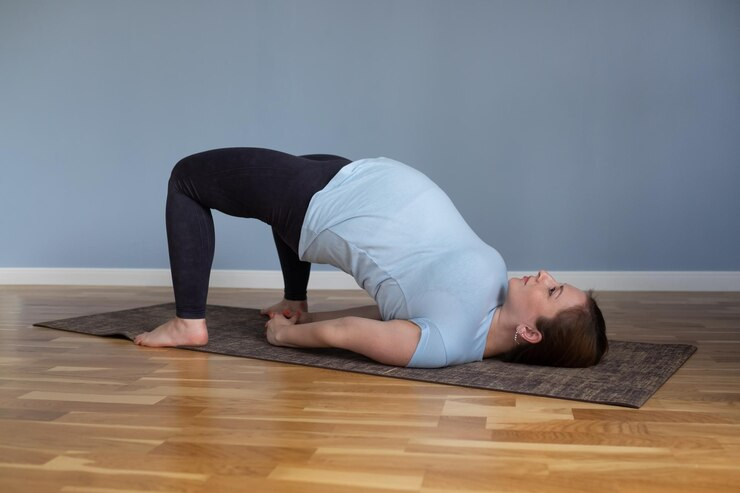
- How it helps: This pose strengthens the lower back and thighs without directly engaging your core muscles. It gently stretches the chest, neck, and spine, which helps improve circulation and promotes healing. Bridge Pose is also great for relieving tension in the back after surgery.
- How to do it:
- Lie on your back, knees bent, feet flat and hip-width apart.
- Lift hips toward the ceiling by pressing through feet.
- Keep core relaxed during the lift.
- Hold the position for a few breaths.
- Lower hips back down and repeat several times.
- Focus on your breathing throughout the exercise.
5- Bhujangasana (Cobra Pose)
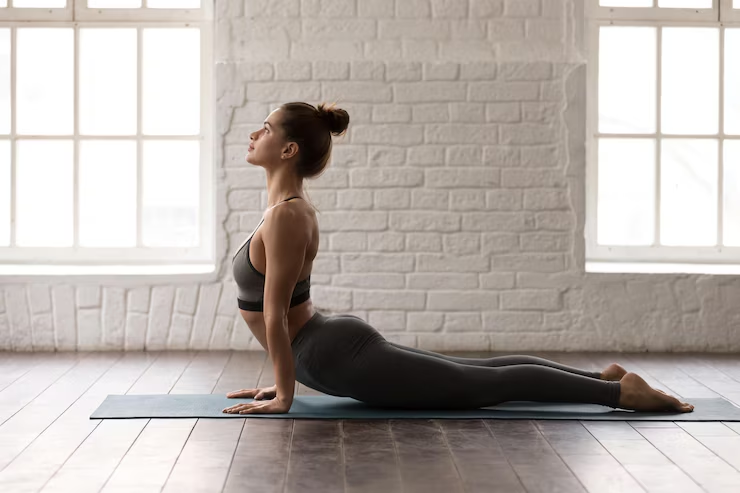
- How it helps: Cobra pose stretches the upper body, including the chest and shoulders, while strengthening the lower back. It helps improve flexibility and promotes better posture, which is essential after spending time resting and healing.
- How to do it:
- Lie on your stomach with your palms under your shoulders.
- Slowly lift your chest off the floor, using your back muscles and keeping your pelvis grounded.
- Avoid pushing too hard with your hands, and don’t engage your core.
- Hold the pose for a few breaths before lowering back down gently.
6-Shavasana (Corpse Pose)
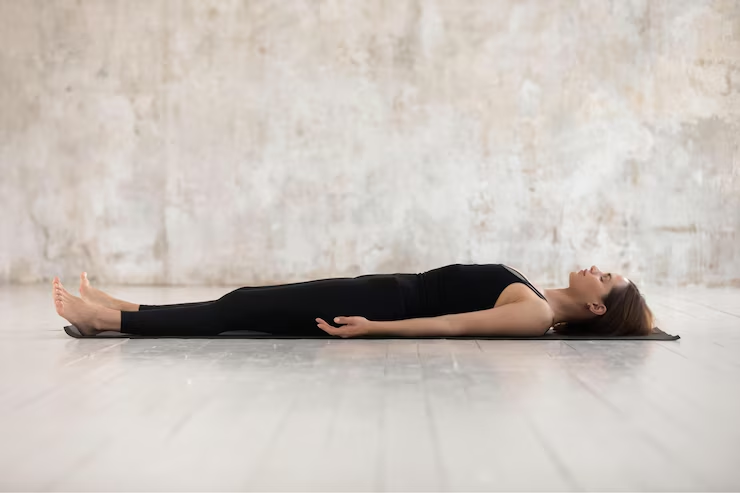
- How it helps: Shavasana is a deep relaxation yoga pose that helps calm the nervous system and promotes overall healing. It encourages full-body relaxation, reducing stress and anxiety, which are important for post-surgery recovery.
- How to do it:
- Lie on your back, arms and legs slightly apart, palms up.
- Close your eyes and concentrate on breathing.
- Allow your body to relax and sink into the floor.
- Release any tension during this time.
- Hold the position for 5-10 minutes for complete relaxation.
Yoga Asanas to Avoid After Inguinal Hernia Surgery
Yoga asanas for inguinal hernia surgery can be beneficial, but certain poses should be avoided in the initial stages of recovery:
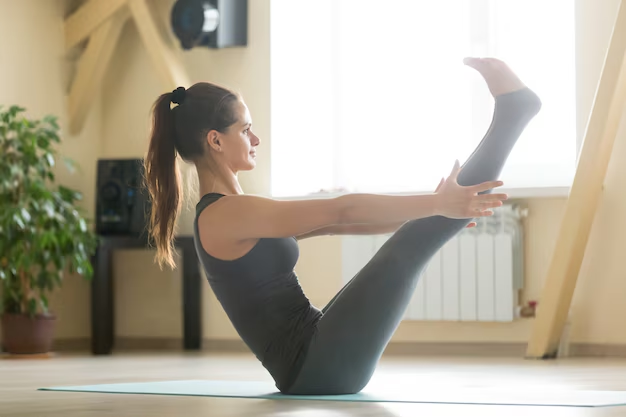
1- Boat Pose (Navasana)
- Why to avoid: This pose engages your core muscles intensely, requiring a lot of strength from your abdomen. Since hernia surgery repairs a weak spot in the abdominal wall, performing Navasana too soon can cause unnecessary strain on this area.
- What happens: Sit and lift legs while balancing on sit bones to create a V-shape with the body. This exercise engages the abdominal muscles and is crucial for recovery after surgery.
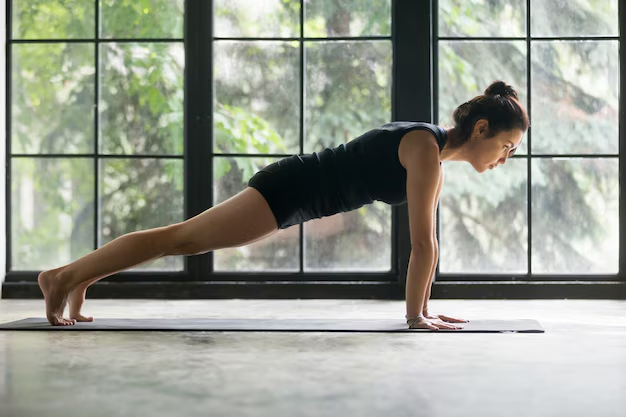
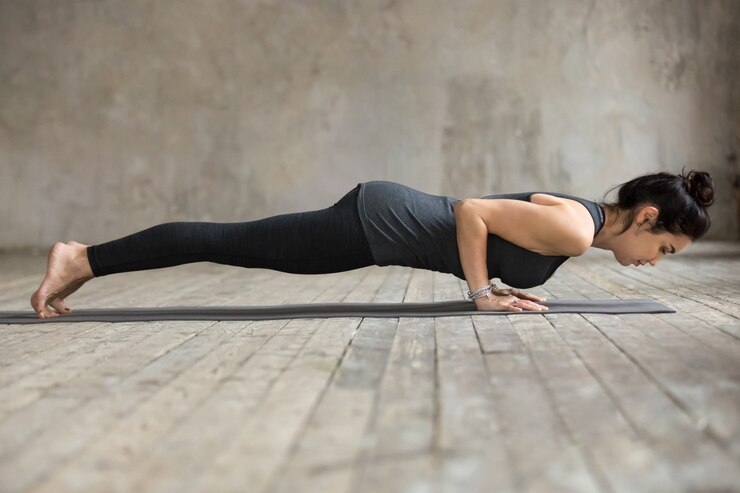
2- Plank Pose (Phalakasana)
- Why to avoid: Plank pose requires you to support your body weight using your core, arms, and legs, which can exert a significant amount of pressure on the abdominal area. Performing this pose prematurely may lead to discomfort or even damage the surgical repair.
- What happens: In a plank, you hold a straight body position, balancing on your toes and hands. This position engages and activates the abdominal muscles, which should be avoided during early recovery stages.
3- Chaturanga Dandasana (Four-Limbed Staff Pose)
- Why to avoid: Similar to the plank pose, Chaturanga demands strength from your core and arms. The act of lowering yourself down toward the ground engages the abdomen intensely, which is risky after hernia surgery.
- What happens: This pose involves lowering your body in a straight line from plank position toward the floor, working your core muscles in the process. It can easily cause strain in the abdominal region if done too early in recovery.
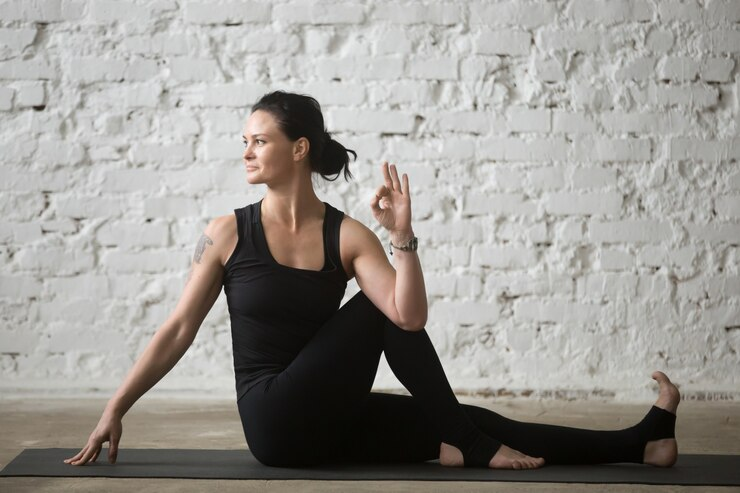
4- Twisting Poses (e.g., Ardha Matsyendrasana, Revolved Triangle Pose)
- Why to avoid: Twisting poses involve rotating the torso, which can put pressure on the abdominal area. Twists engage your oblique muscles and can lead to strain at the site of your hernia repair. These poses can be particularly harmful during the first few weeks post-surgery.
- What happens: When twisting your upper body, your abdominal muscles engage and contract, which may interfere with the healing process of the tissues involved in the hernia repair.
When to Start Yoga After Surgery
It’s essential to wait for your doctor’s clearance before resuming any physical activity, including yoga. Generally, light stretching and gentle poses can be introduced after a few weeks, but avoid anything that stresses the abdominal muscles for at least 4–6 weeks post-surgery. Always listen to your body and ease back into yoga gradually.
Conclusion
Listening to your body and consulting with your healthcare provider before starting any new exercise regimen to ensure a safe transition back to physical activity. Patience is key; give yourself time to heal fully before progressing to more challenging postures. Start your journey towards recovery today by exploring these yoga poses after inguinal hernia surgery and embracing a holistic approach to your rehabilitation.
Disclaimer: This article is for education and information only, not medical advice. Talk to your healthcare provider or a qualified medical professional before starting any physical activity, including yoga, after inguinal hernia surgery. Everyone recovers differently, and some exercises may not be suitable for you. If you feel any pain or discomfort, stop immediately and get medical help.
Also Read: Transform Your Health: Intermittent Fasting Diet Plan for Weight Loss